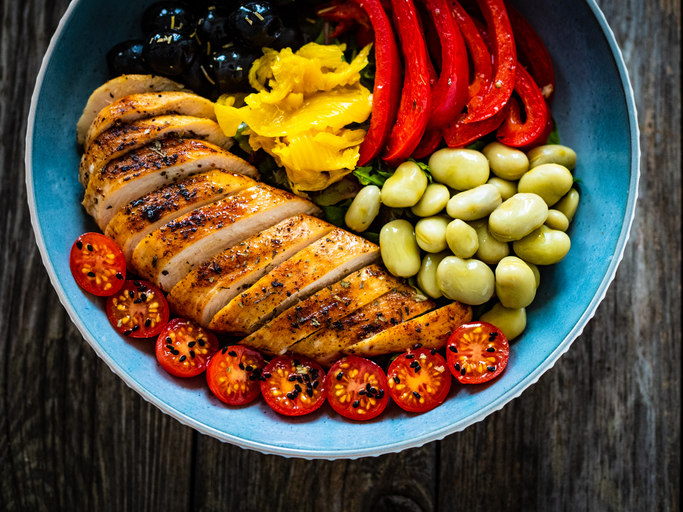
When you cook chicken breast, is it bursting with flavor? Does it make you excited to sit down to a nutritious, protein-packed meal? If your answers to those questions were “not really” and “meh,” it might be time to learn how to cook chicken breast the right way.
If you’re a meat-eater, chicken breast is most likely a staple on your healthy meal plan. But when it’s prepared wrong, it can be dry, flaky, and… well, boring.
But when you learn how to cook chicken properly, it will be tender and juicy — and the perfect base for experimenting with different herbs, spices, sauces, and marinades. (It can even be tasty with just a squeeze of lemon or a little bit of salt and pepper!)
And because chicken cooks quickly, you can get dinner on the table quickly, or prep a week’s worth of lunches within minutes.
Which Cooking Method Should You Choose?
How you cook chicken breast comes down to personal preference. The cooking method you choose will affect the texture and juiciness of the meat. Chicken that cooks quickly over higher heat will have a firmer texture.
Depending on the cooking method, it may be golden and crisp on the outside and juicy inside. Slow-cooked chicken will be tender throughout and may even shred easily with a fork.
Skip to these tips on how to cook chicken breast in a pan, oven, pot, pressure cooker, or grill.
Roast | Broil | Grill | Poach | Sauté | Pan-Fry | Bread | Braise | Instant Pot
What Type of Chicken Should You Buy?

For each of the cooking methods below, choose boneless, skinless chicken breasts. A four-ounce serving of chicken breast has about 170 calories and 32 grams of protein, and less saturated fat than thighs and drumsticks.
“Protein helps us stay satiated longer, and it’s great for anyone trying to lose weight,” says Kelly Plowe, MS, RD. “When we’re dropping pounds, some of that weight is inevitably muscle mass, and getting enough protein helps to minimize that.”
Pay attention to the size of chicken breasts you buy — some weigh in at eight ounces or more, so if you’re not careful, you may accidentally double your serving size (and your calories).
And Plowe cautions that some brands of chicken are injected with salt water to plump the meat and keep it moist. Scan the nutrition label to make sure you aren’t getting a salty bird.
Ideally, chicken breasts should be evenly sized so they cook through consistently. If one end of the breast is thinner than the other, use a skillet or mason jar to flatten the thicker part.
How to Tell if Chicken Is Done Cooking
No one wants undercooked chicken, but how do you keep from overcooking chicken and drying it out? No matter which cooking method you choose, you can test for doneness by inserting a food thermometer into the thickest part of the chicken.
The U.S. Department of Agriculture recommends cooking raw poultry to an internal temperature of 165°F.
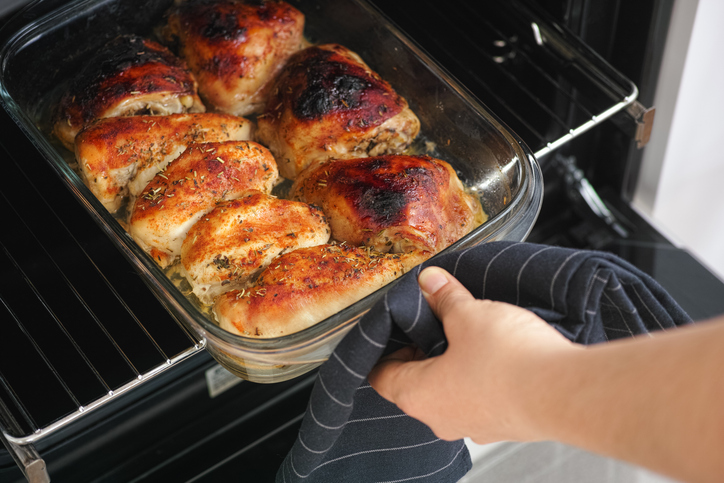
When you hear the term “baked chicken,” that refers to roasting — a.k.a. cooking chicken in an oven. This is an easy skill to master, even for a total beginner, and it’ll open up a whole world of simple meal prep possibilities.
- Preheat oven to 375° F.
- Use paper towels to pat dry chicken breasts.
- Coat an ovenproof baking dish with oil or nonstick cooking spray. Arrange chicken in the dish so that the pieces are not touching.
- Drizzle chicken breast with a little olive oil (a teaspoon or less should do) and season as desired.
- Put the baking dish in the oven. Cook for 15 to 20 minutes or until it reaches an internal temperature of 165°F.
PRO TIP: Chop veggies like onions, bell peppers, broccoli, asparagus, or brussels sprouts. Drizzle with olive oil and salt, and put them in the oven on a separate baking sheet. When the chicken is done, so is the side dish!
Broiling is a high-heat cooking method and one of the fastest ways to prepare chicken breasts. Done right, it yields chicken that is slightly crispy on the outside and juicy on the inside — but the high temps make it easy to overcook chicken this way.
To keep chicken from drying out, marinate it in a healthy vinaigrette or drizzle with olive oil and lemon juice before cooking. Keep a close eye on your chicken while it cooks.
- Preheat the broiler and place the oven rack six inches from the heat.
- Use paper towels to pat the chicken dry. Place on a foil-lined broiler pan or baking sheet.
- Place under broiler for four to five minutes, or until chicken begins to brown. Turn chicken, then cook for four to five minutes more, until it reaches an internal temperature of 165°F.
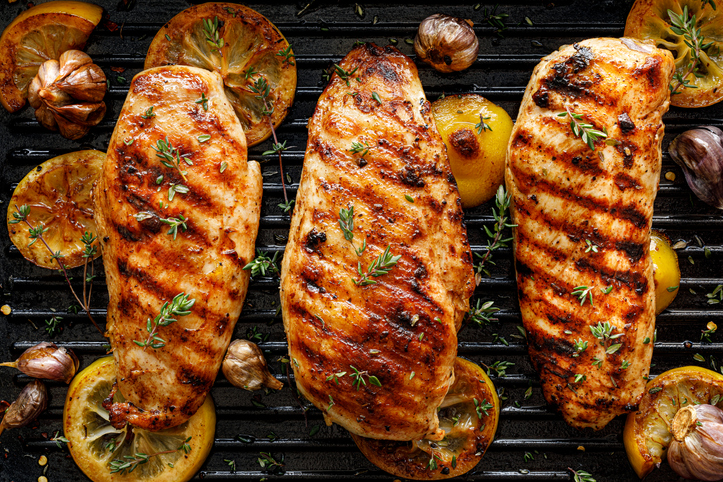
Chicken cooked on a grill has a distinctive smoky flavor. One caveat: There’s some evidence that grilling or barbecuing meat can cause high levels of heterocyclic amines, a chemical that may be linked to cancer risk — so enjoy your BBQ in moderation.
- Light grill on a medium heat setting.
- Use paper towels to pat dry chicken breasts. Brush both sides of each breast lightly with olive oil and season to taste.
- Use long metal tongs to place each chicken breast on the grill so the pieces of meat do not touch.
- Cover the grill and let the chicken cook for six to eight minutes, then use tongs to flip each piece. Grill for six to eight minutes longer until it reaches an internal temperature of 165°F.
PRO TIP: If you plan to flavor chicken with barbecue sauce or another sweet sauce, wait until the meat is almost done cooking. Most sauces have natural or added sugars that can burn quickly, making a charred mess.
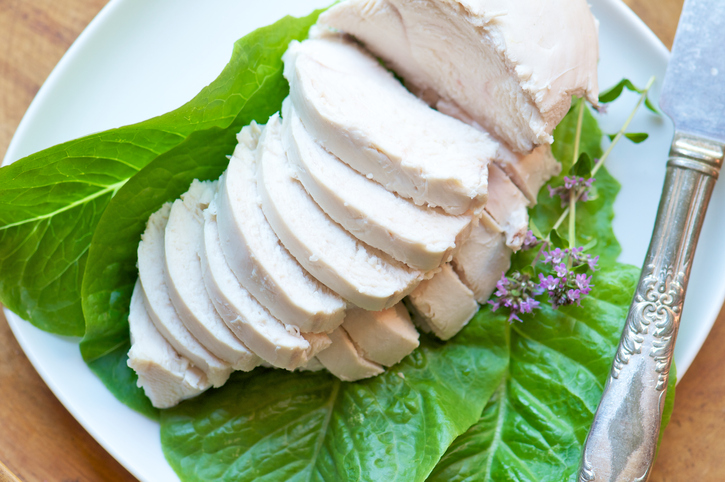
Poaching is a convenient and nearly foolproof way to cook chicken. Because the chicken is cooked in liquid, it stays succulent and is unlikely to burn.
- Place chicken in a saucepan and cover with cold water (just enough to submerge it).
- Add salt and aromatic ingredients — like chopped onion, sliced carrots, garlic, pepper corns, and fresh herbs — to the liquid.
- Over medium heat, bring the pot to a gentle simmer. Do not boil.
- When liquid begins to simmer, reduce heat to low and cook for 10 to 12 minutes, until it reaches an internal temperature of 165°F.
PRO TIP: Save the cooking liquid — it can be used to cook seasoned rice, or as a tasty base for a soup.
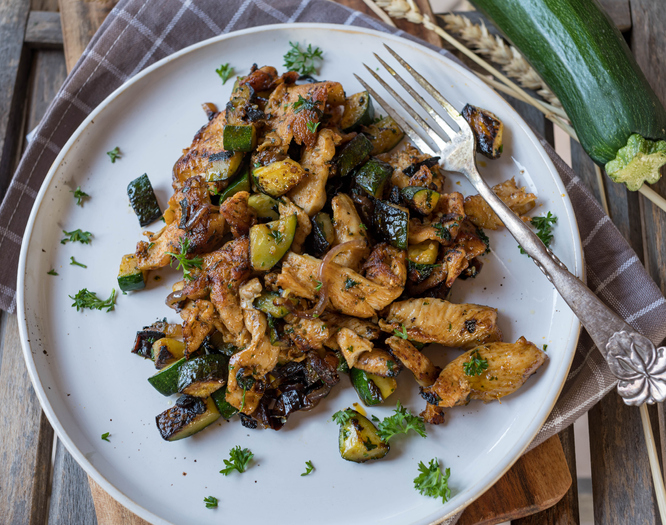
Sautéing refers to cooking cubed or sliced chicken breast over medium-high heat in a skillet or pan. If you’re in a hurry, this is hands-down the fastest way to cook chicken.
- Cut chicken into one-inch cubes. Pat it dry using paper towels, then season as desired.
- Heat a skillet or frying pan over medium-high heat. When hot, coat with a small amount of cooking oil or nonstick spray.
- Add chicken to pan and let sit for two to three minutes. Stir and cook for three to five minutes more, stirring as needed until chicken is lightly browned on all sides and cooked through.
PRO TIP: When the chicken is no longer pink on the outside, toss some chopped onions, peppers, and broccoli into the pan and continue cooking for an easy one-pan dinner.
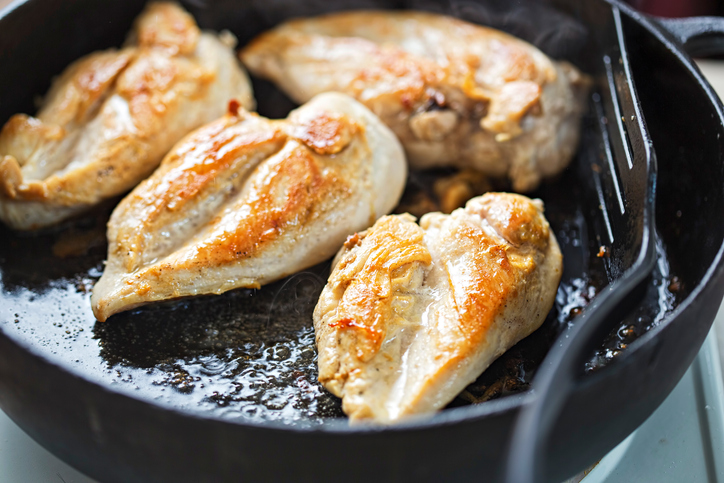
This isn’t your grandma’s greasy, deep-fried chicken — pan-frying chicken uses a small amount of fat and medium heat to cook chicken until it’s crusty and golden on the outside and juicy on the inside.
For the best fried chicken, use a pan that’s large enough to give each breast plenty of space, and be patient — if you flip it too soon, it’ll stick to the pan.
- Using paper towels, pat dry chicken breasts and season to taste.
- Heat a large skillet over medium high heat. When hot, coat the bottom of the pan with one tsp. olive oil or nonstick spray.
- Place each chicken breast in the pan, making sure they do not touch. Do not move them for six to eight minutes.
- Use tongs or a spatula to flip the chicken. Continue cooking for eight to 10 minutes more, or until it reaches an internal temperature of 165°F.
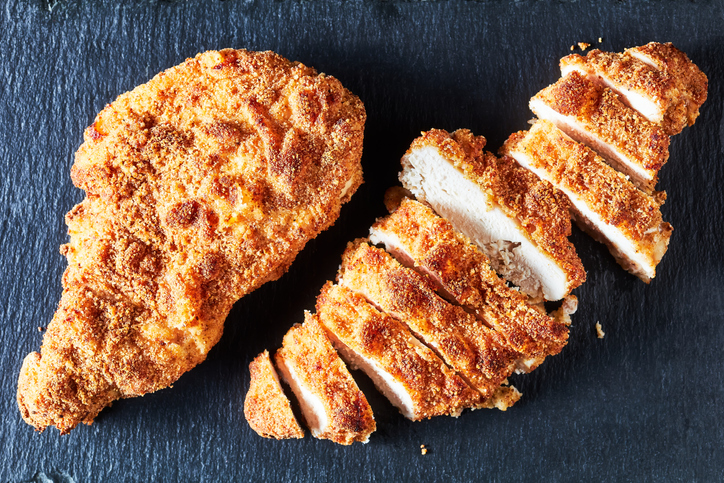
Breading chicken requires a few minutes of extra work, but it’s worth it! The meat stays juicy while the crunchy crust adds extra flavor — especially if you spice it up with herbs and Parmesan.
- Preheat oven to 425° F.
- Line a baking sheet with foil and lightly coat it with cooking spray.
- Beat two eggs in a shallow bowl. (For extra flavor, add a tablespoon or two of Worcestershire sauce or Tabasco.) Add four chicken breasts to the bowl and turn to coat. Set aside.
- Combine one cup of bread crumbs (we like whole wheat panko) with salt and pepper in resealable plastic bag. Set aside.
- Use tongs to lift one chicken breast from the egg mixture. Let excess liquid drip back into the dish, then place the chicken into the bag with the bread crumbs. Seal the bag and shake to coat.
- Repeat with remaining pieces of chicken. (Adding each piece of chicken separately keeps the pieces from sticking together, so each piece gets fully coated with the breading mix.)
- Place each piece of chicken on the prepared baking sheet. Bake for 12 minutes. Turn the chicken breasts and cook for 10 to 12 minutes more, until both sides are browned and it reaches an internal temperature of 165°F.
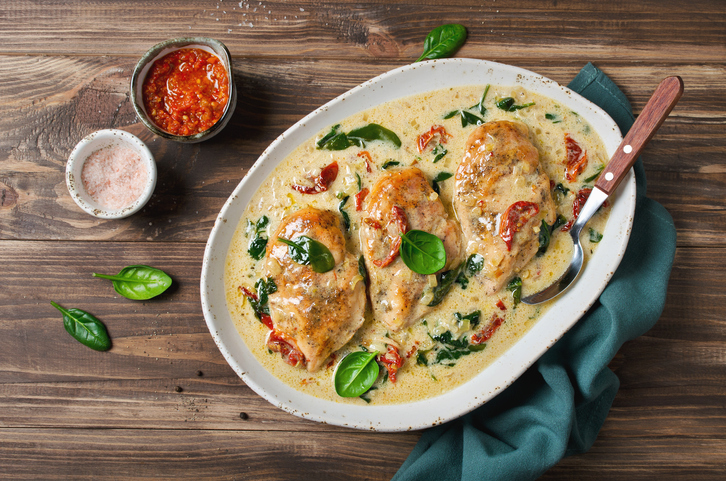
This low-and-slow method can make even the toughest piece of meat melt-in-your-mouth tender. Braising adds a lot of flavor and moisture to chicken, and makes it easy to shred.
Braised chicken is slow-cooked in liquid. Get creative — choose broth, tomatoes, milk, wine, or beer (not all at once, though!) and add sliced onion, garlic, herbs, and spices to complement the dish.
- Heat a skillet over medium-high heat. When hot, add a small amount of cooking oil or coat with nonstick spray. (If your slow cooker has a sauté setting, you can do this step without dirtying an extra pan!)
- Place two to four boneless, skinless chicken breasts in the pan and cook two to three minutes per side until chicken starts to brown but is still pink in the center.
- Transfer meat to crockpot. Add a cup broth or other liquid, and season with salt and pepper. If using chopped onions or other spices, add them now.
- Turn the crockpot to low and cook for three to four hours.
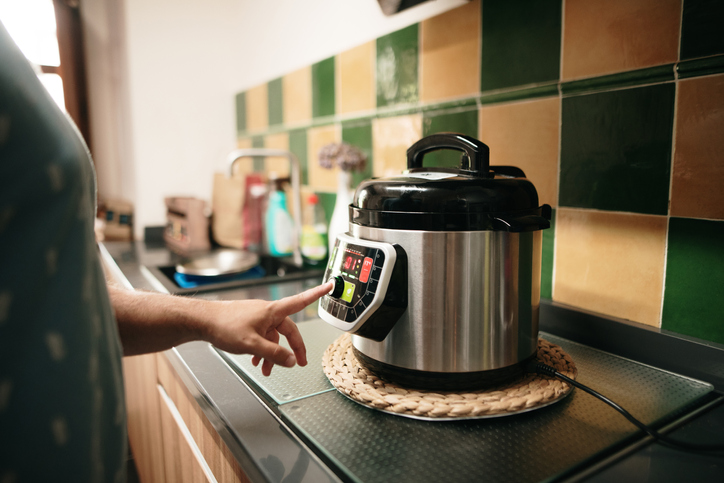
Use the Instant Pot‘s steamer insert to achieve juicy, whole chicken breasts with very little effort.
- Season raw boneless, skinless chicken breasts with salt and pepper and any desired seasonings, and place them in the Instant Pot’s steamer basket.
- Pour one cup of chicken broth (or water) over the chicken and seal the lid. Make sure the pressure valve is closed.
- Using the cooker’s manual mode, adjust the pressure setting to “high” and set the time to 10 minutes. (Keep in mind it’ll take an additional 10 minutes or so for the pressure to build before it actually starts cooking.).
- When the cook time is up, do a quick release of pressure, then remove the chicken from the pot.
PRO TIP: This cooking method also works for frozen chicken! Just allow more time for the cooker to come up to pressure, and cook for 15 minutes instead.
The post How to Cook Chicken Breast: 9 Easy Cooking Methods appeared first on BODi.

0 Comments